Showing posts with label diy. Show all posts

1.31.2014

DIY leather camera strap


I always wanted a leather strap for my DSLR. After looking at some local webstore to buy a leather camera strap with no results, I found this idea through Pinterest. A leather camera strap made from old purse strap. I think this one is perfect for me. I remember I had a leather clutch with strap that I bought about 4 year ago. And the strap size is just perfect for my camera! So with a bit gluing and sewing, I get my self-made leather camera strap! :)
Happy Friday! ~xo

10.05.2013

weekend DIY | faux leather pouch

I forgot that I had this DIY project photos on my computer since November 2012. Almost a year! I think it would be great to share with you today as a simple weekend project! ;)  This is a very easy DIY project. Just 3 steps to make it. Here are the supplies you'll need to make this pouch: faux leather, scissors, needle and thread, jeans button. Continue reading to check the steps. Hope you'll enjoy this! :)

8.22.2013

DIY faceted eraser ring

Pheew! I think it was a year ago since my last DIY post :(  So, I thought today I'd share a tutorial with you all for these DIY Faceted Eraser Ring. I was inspired by this polymer clay geo rings, but I want to make it easier with more easy-to-find material. And rubber eraser is perfect one, I think :)  Its texture is a bit similar to polymer clay and easily carved. If you want to make this ring, here's the supplies you'll need.
SUPPLIES:
1. Rubber eraser |choose the soft one so it easily carved
2. Metal ring
3. Acrylic paint
4. Cutter
5. Gold spray paint
6. Brush
7. E6000 |or glue gun
8. Scotch tape |or masking tape
STEPS:
  • Carve the rubber eraser into geometric shape using cutter. You can use the rubber eraser with any color you'd like. I like that Uni-ball Boxy Eraser. Besides I love black color, I think that one was easier to carved than the white one.
  • Carve it until you get the shape you wanted. It'll be better if it has asymmetrical sides.
  • Paint the carved eraser using acrylic paint and brush with any color you like. I choose mint and pale salmon for my white eraser :)  And let the paint dry for a while.

  • Be sure that your paint has completely dry before you go to the next step.
  • Using scotch tape, make a neat line to covered one side of your painted eraser. Be sure that a half side was perfectly covered by scotch tape before you spray painted them. 
  • Paint the tape-covered eraser using gold spray paint. Let it dry, then open the scotch tape so you'll get the two sided faceted erasers, color and golden side. 
  • The final step is just attach the faceted eraser into the metal ring using E6000 or glue gun.
  • Voila! You got a new ring to go with you this weekend :)

I really enjoy doing this DIY project, especially because I can play with my favorite color combinations. I hope you'll like this tutorial and making your versions of this diy project. I would love to see your finished results if you do :)  Happy Thursday!

7.14.2012

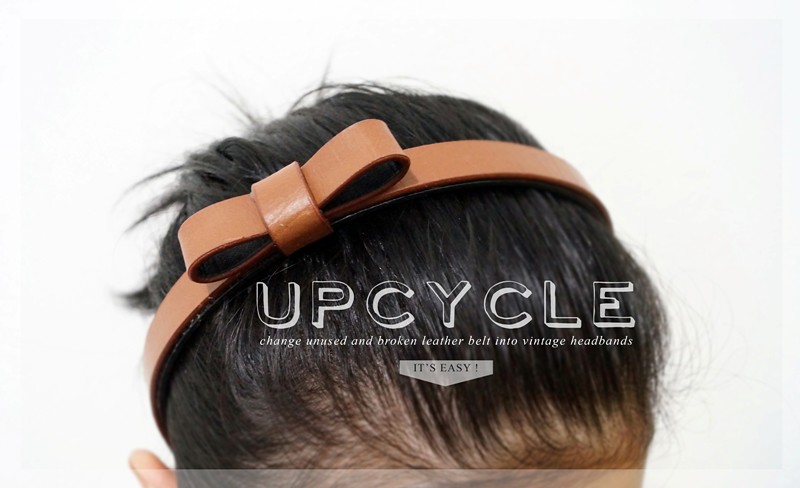
weekend diy : upcycled leather headband

If you have an unused and broken belt, and don't know what to do with it, you can try to make this upcycled headband :) It's so simple to do and just take a several minutes. And didn't need to stitch!
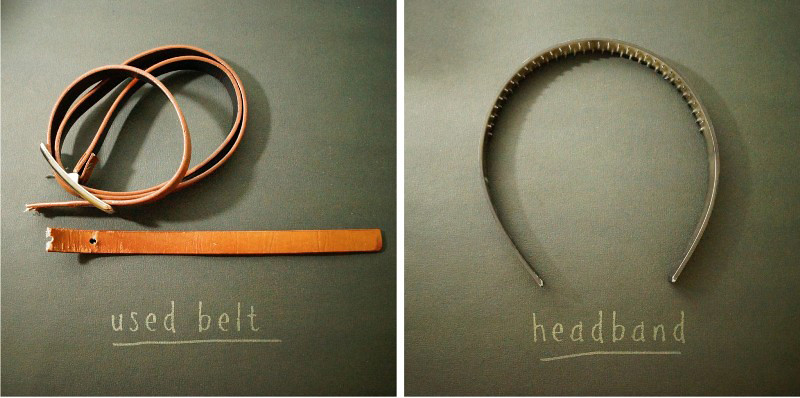
You just need :
  • an unused leather belt
  • a plain plastic headband
  • super adhesive glue (ex. E6000)

Steps :
  • cut the belt along the headband
  • glue it to the headband
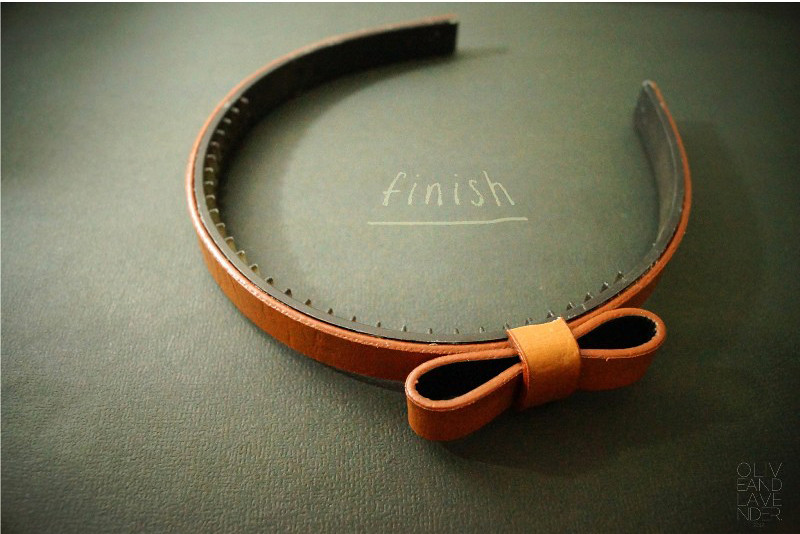
  • cut a 12 cm ( 5") stripe from the belt, and fold it to make a little bow, glue it slightly to the side of the headband, not into the middle
  • cut a 3 cm ( 1 1/2") strip from the belt for the bow knot, glue it to the center of the bow
  • make sure all the part glued tightly, and it's done!!

You have a 'new' headband :)  Please try, I would love to see yours :)
Enjoy your lovely weekend! 

2.26.2012

Guest Posting at Hello Hydrangea!!

Lindsey, from Hello Hydrangea blog has featuring me on her beautiful blog! Yippee!! I'm so happy for that :)
I making these upcycled clock and the tutorial, please come on over!!


Hope you have a very lovely Monday !!

2.05.2012

Weekend DIY : Vintage Tin Cans

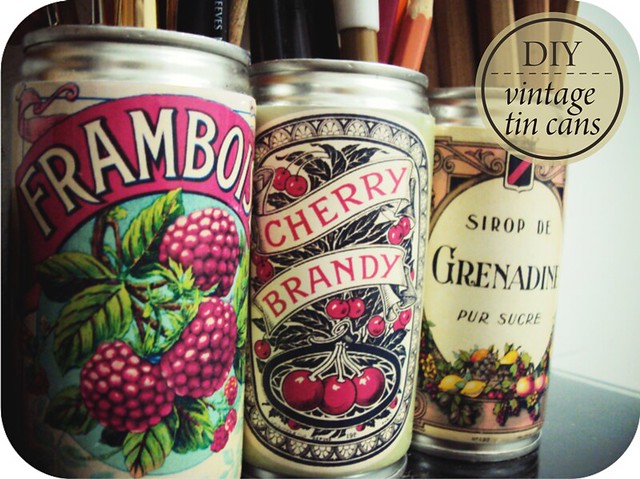
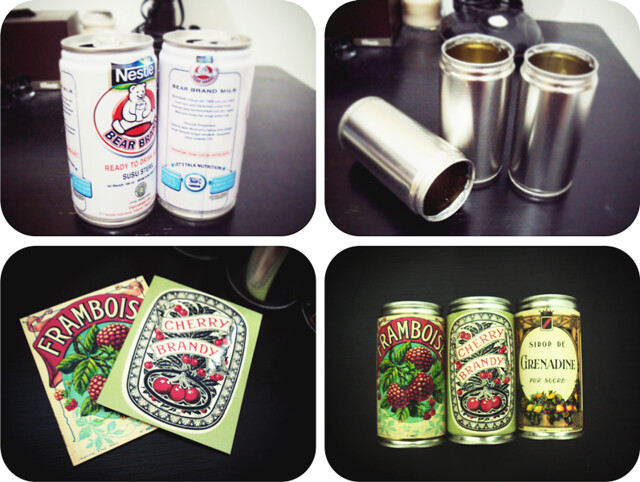
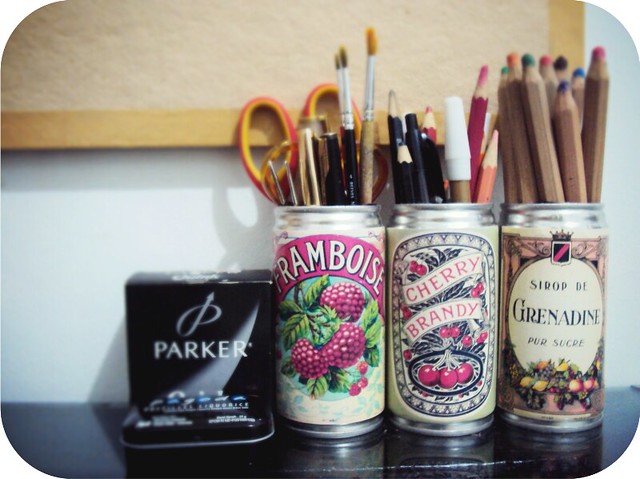
Hi! I've finished doing this nice and easy 'do it yourself' project to decorate my workspace. I'm doing this with recycling the unused ready-to-drink milk cans. You can try to make it too, it's so easy!

Here's what you'll need:
1. unused tin cans
2. sticker paper
3. printable vintage label (this Flickr set has got an amazing array of FREE vintage labels you can download and print)

Just clean up the can's label and discard the cover using can openers. Make sure you smooth the sharp edges so it won't wounded. Print the vintage label onto the sticker paper and stick it on the cans.

And that's it! This is so simple to do. You can make it to create some vintage atmosphere at your home :)
Have a wonderful weekend everyone!

xo
pratya

1.29.2012

Currently Loving : Mustard Yellow, Turquoise, Chevron

I'm currently crush on with these color and chevron pattern. Looks fresh and gorgeous. Kinda such a mood booster to deal with busy Monday :) xo


1. Chevron Dinner Plates from AedrielOriginal (via Ashley) | 2. Chevron Art Print from RetroMenagerie (via Etsy) | 3. Zigzag Shower Curtain from Urban Outfitters (via Erin) | 4. Zigzag Sham from Urban Outfitters (via Erin) | 5. DIY Chevron Patterned Pillow by Dana Made It

10.07.2011

Free Stache Thank You Gift Tags

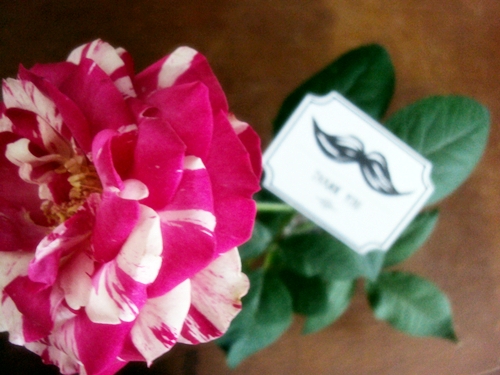
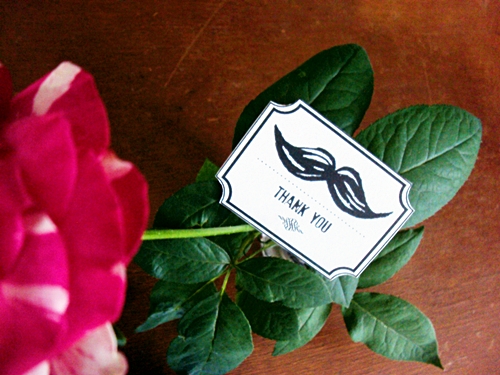
This is the freebie about my stache stamp that I've posted before. "Thank You" gift tags for your gifts. I really like the vintage looks of this gift tags. And I hope you likes them too :)


please read the term of use at the bottom of this post.

Print the PDF file onto cardstock or heavy-weight paper and cut out. Then put on your gift or you can write your own message on the backside of these gift tags. Enjoy !


. . . . . . . . . . .

Term of Use
Non-commercial use only please. The change of the file doesn't void the copyright.
Please feel free to print out the copies to share with our friends and family.
If you are kind enough to blog about this article, please feel free to use my photos as long as they
are accompanied with a credit and link back to my site and/or this article, I'll appreciate it.
DO NOT link directly to a downloadable file but rather to this page.
Thanks :))

Stache !

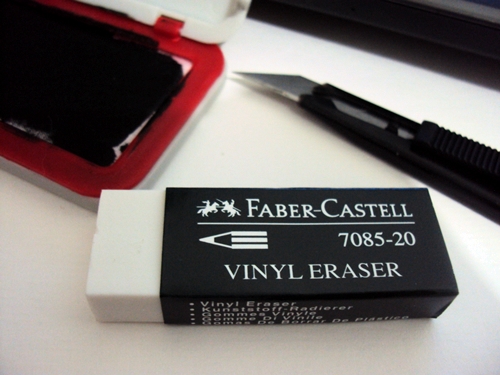
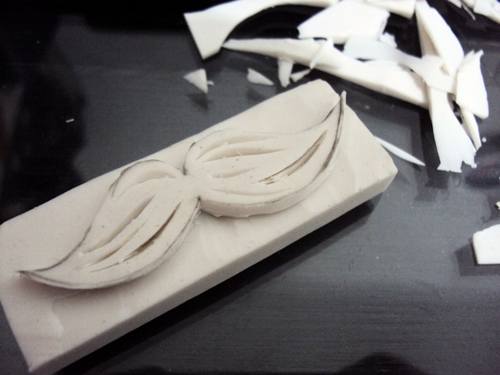
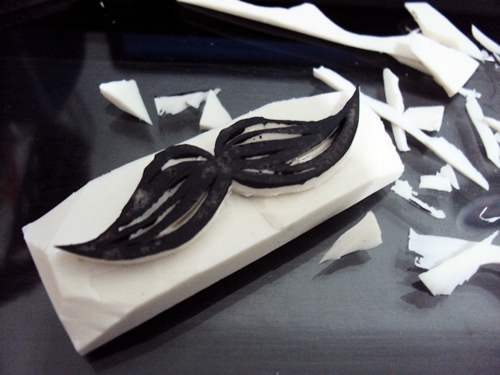
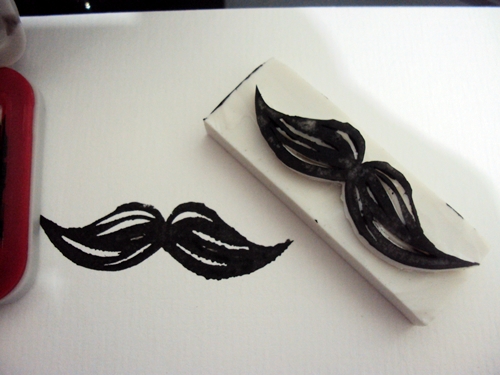
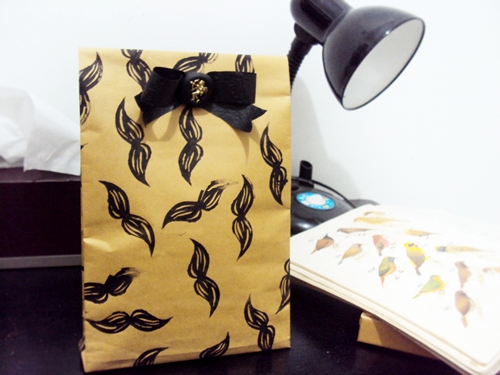
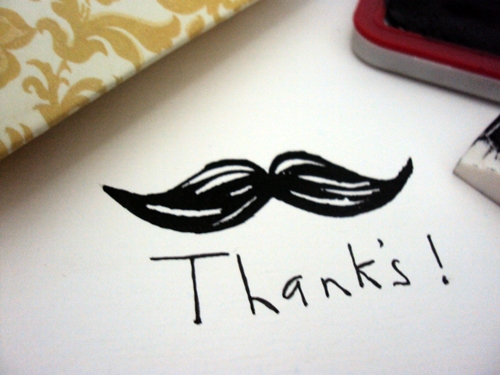
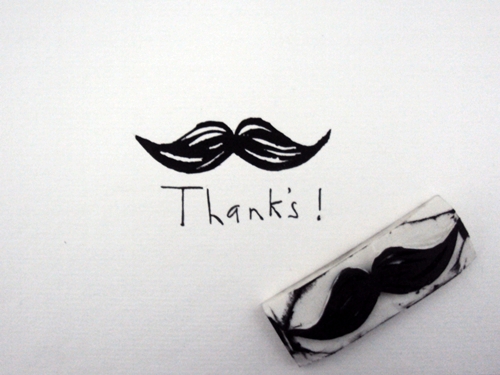
I'm interested to try making a hand carved stamps after seeing the tutorial on Geninne's blog. So I tried to make a stamp with a simple form of mustache..haha :) Well, unfortunately I didn't use the tools as used by Geninne in her tutorial, such like a carving block and linoleum cutter. I don't know where to buy those tools :( I just using a rubber eraser and usual cutter. And this is my hand carved stamp :))


And I try to use it on several ideas like my B paper-gift-bag and 'thanks!' gift tag :)

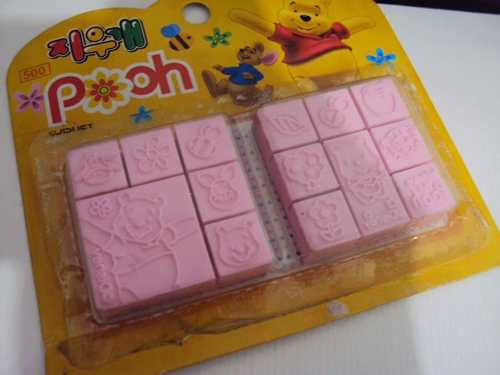
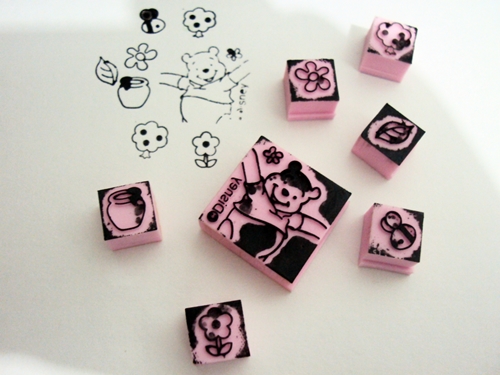
Here, look what I've found at stationary when I bought the rubber eraser. Disney Pooh Eraser Stamp..howcute :)) I know it's seems has displayed in stationary for a long time because its wrapper is quite dirty, but it's still cute so I bought it :)))


Next, i will give you a freebie about my stache stamp.

Have a happy Friday, Folks !
xo


9.20.2011

New Sketchbook !

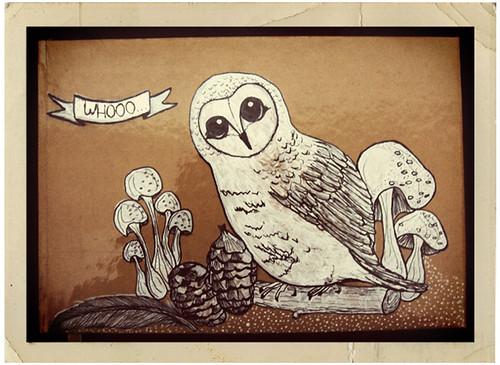
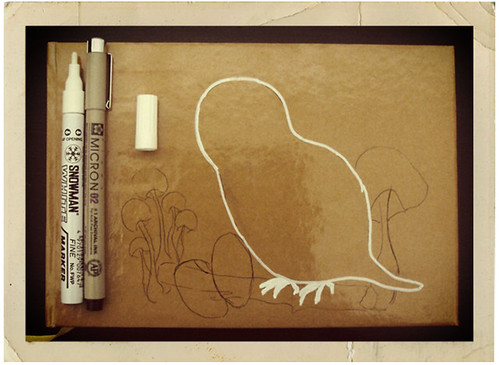
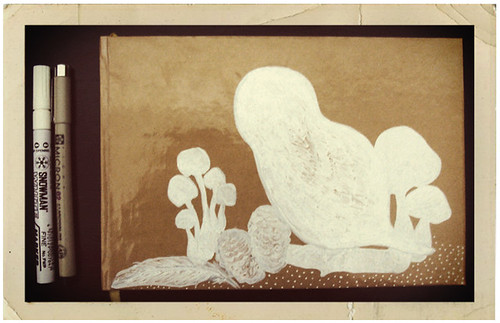
This is my new sketchbook. I get it by buying the heavy papers for drawing and then left to the bindery to be bound. Once bound, the cover was plain and laminated. And while I'm blogwalking on Geninne's site, I've got inspired with her post. So I think I want to draw my sketchbook cover too, so that's won't be too plain. But my sketchbook over was got laminated, so I can't coloring it using watercolors. So i draw it using snowman white and micron pen waterproof ink, and varnish it.
I use photoshop actions from here and lovely vintage blog photo frame from here for this post images.
Blogging tips