


Showing posts with label handmade. Show all posts
Showing posts with label handmade. Show all posts
11.29.2013
re-opening | OLIVEANDLAVENDER clay shop
filed under |
handmade,
polymer clay,
works
10.25.2012
Latest...
filed under |
handmade,
polymer clay,
works

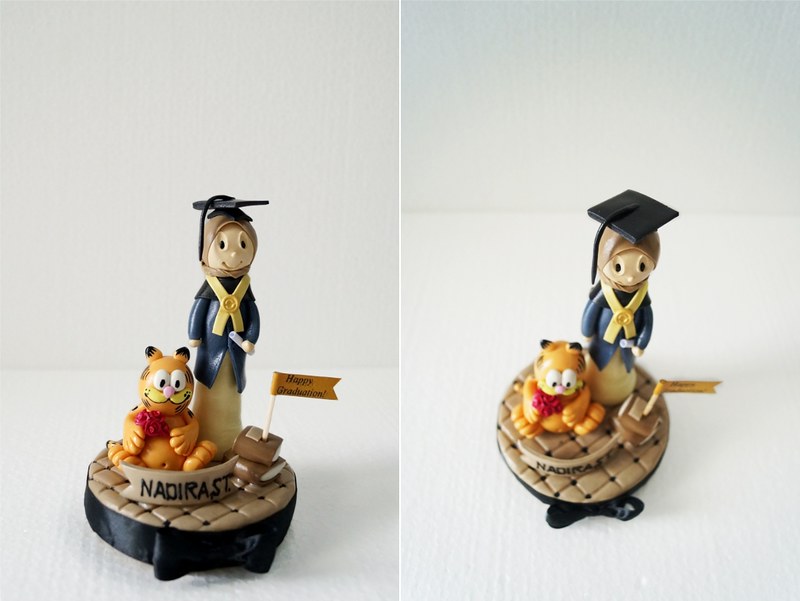
Congratulation Nadira, ST.
...clay work. A graduation girl figurine with Garfield :)
I know, I know, that Garfield figurine wasn't too much alike with the real one..
I made him more slim with more gaunt face..haha

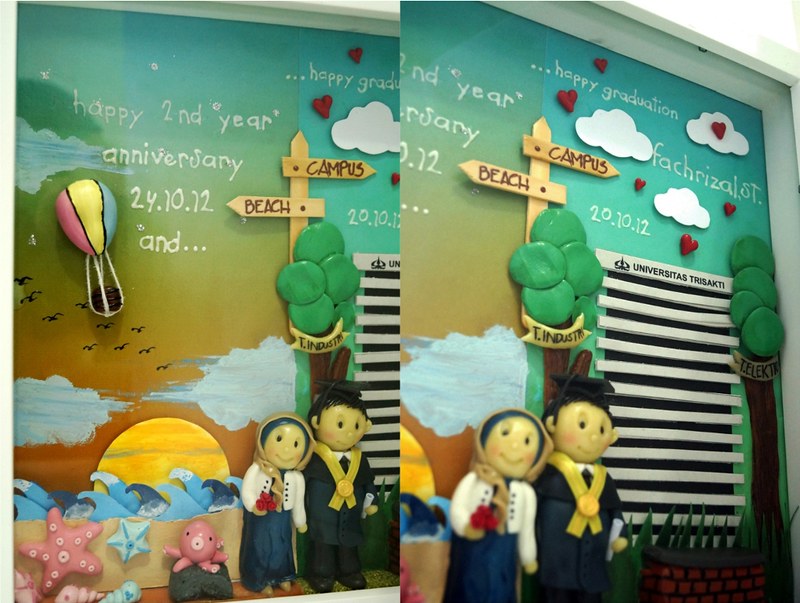
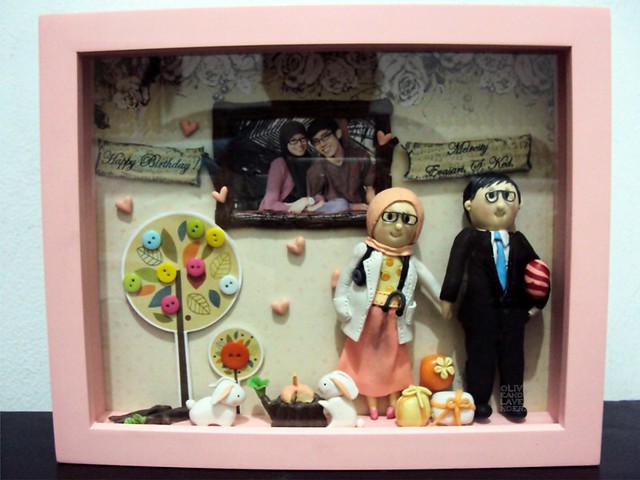
Congratulation and Happy Anniversary for Lisa and Fachrizal, ST.
This clay on frame was requested by Lisa as a graduation and 2 year anniversary gift for her boyfriend. She wanted a clay on frame with 2 themes at once. Campus theme for the graduation and beach theme for the anniversary. So I split the frame area into two and fill it with 2 different themes.
Actually, I'm quite satisfied with the result, but I had great difficulty while taking the pictures.It's really hard to take a good photo with the glazing surface object like those frame. It's always reflects the surroundings. I've tried to darken the room so that there is no reflection on the glass surface, and then brighten it up in Photoshop. But then I get so much noisy and blurry photos like above :'(
Anyone can help?
8.27.2012
done..
filed under |
handmade,
polymer clay,
works
Hello friends! Sorry for the lack of posts. I've been busy for the holidays last week. There are two great days in my country last week. Indonesia's Independence Day on August 17th and Eid al-Fitr on August 19-20th. And the days after 20 is my precious time with my whole family and my boyfriend who came home for vacation for 2 weeks :)
Anyway, this is my previous works. I just be able to post it today. I had two customers who named Rara. What a nice coincidence :)
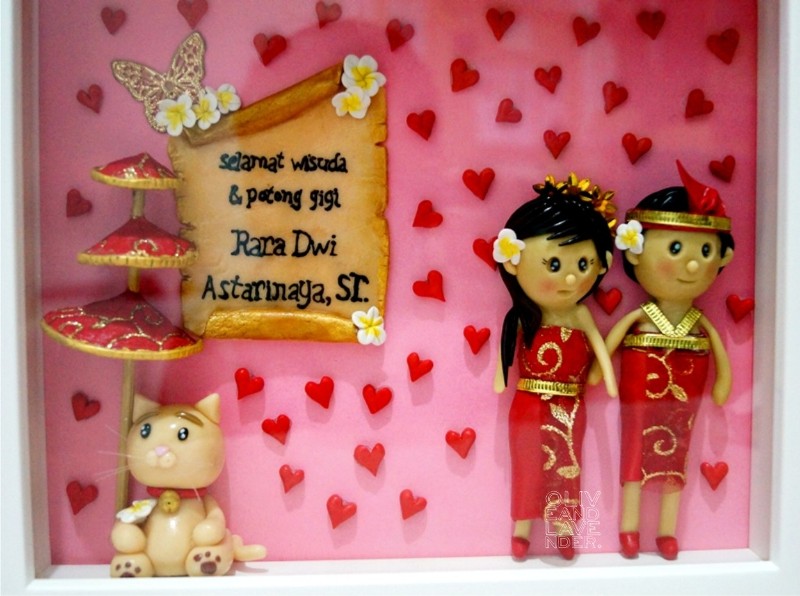
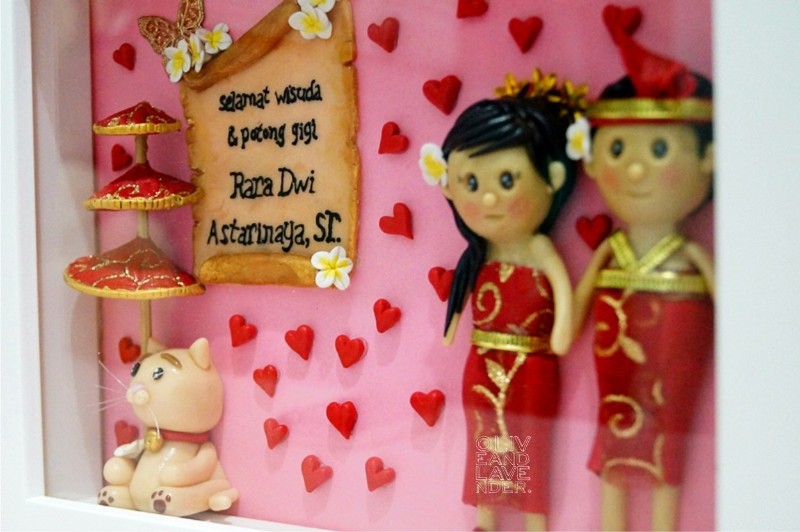
Happy graduation & cut teeth Rara Dwi Astarinaya, ST.
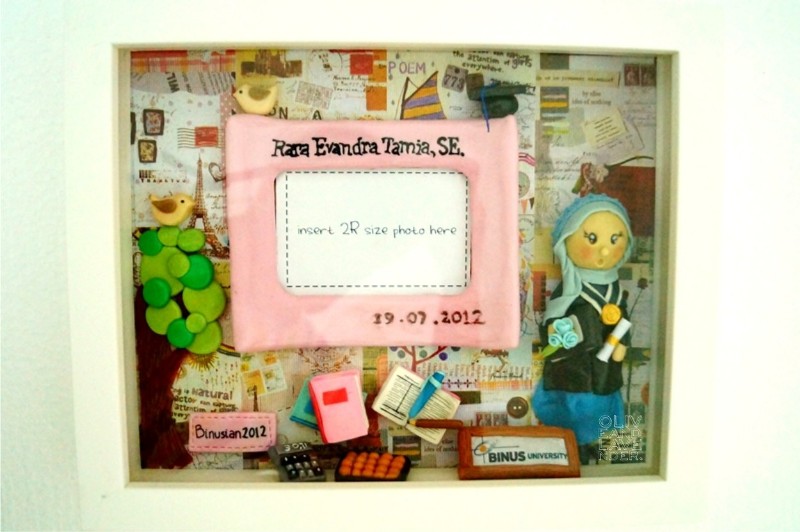
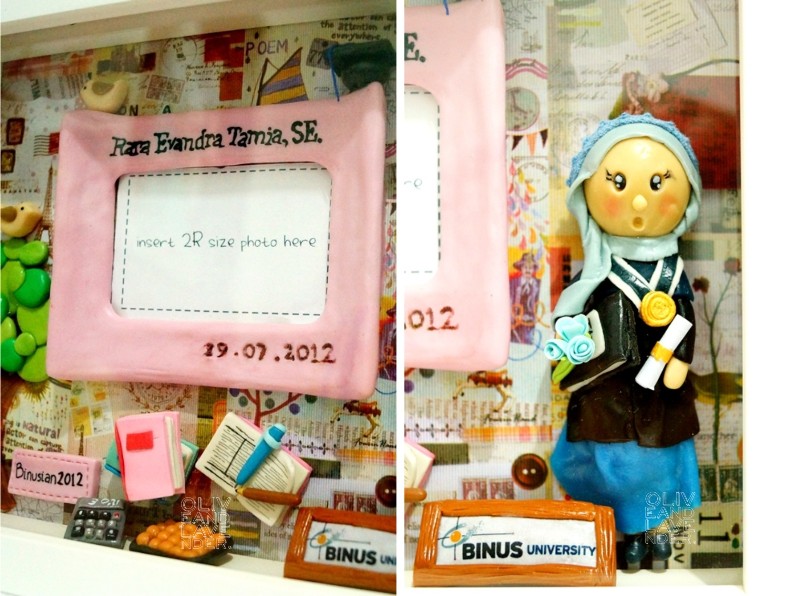
Happy graduation Rara Evandra Tamia, SE.
Happy Monday, everyone! ♥
note : Cut teeth (Balinese: mepandes, mesangih or metatah) is Hindu-Balinese ceremonies. This ceremony includes what is called the ceremony manusa yadnya. What's done at the cutting teeth ceremony are eroding six upper front teeth. The purpose of this ceremony is to reduce vices (sad ripu) in question.
7.14.2012
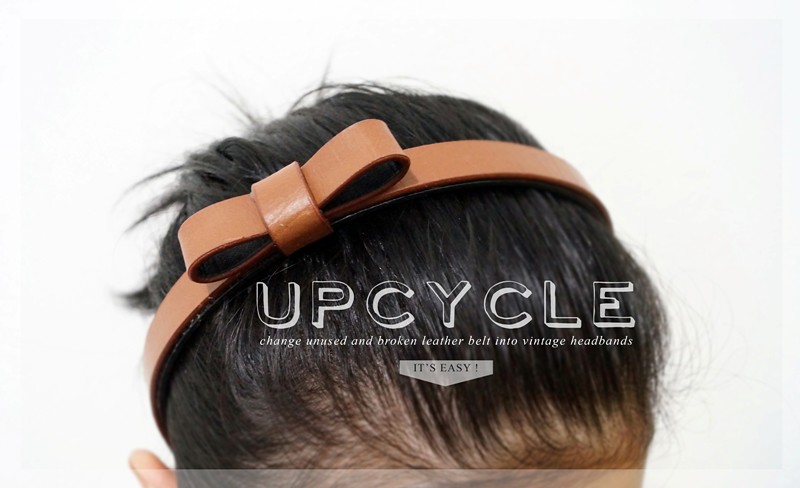
weekend diy : upcycled leather headband
filed under |
diy,
handmade,
tutorial,
weekend diy
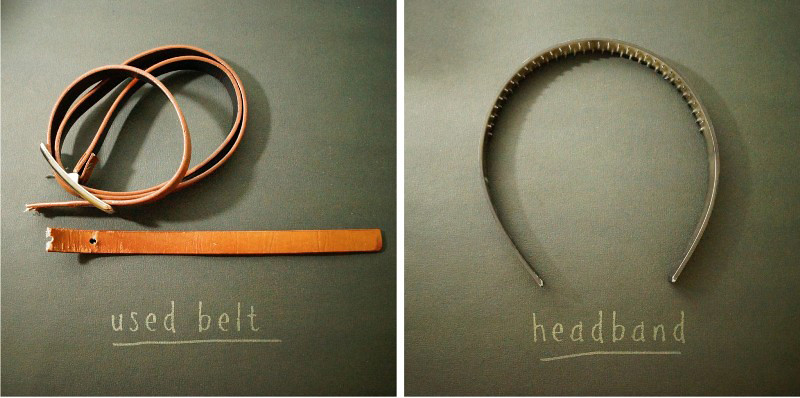
You just need :
- an unused leather belt
- a plain plastic headband
- super adhesive glue (ex. E6000)
Steps :
- cut the belt along the headband
- glue it to the headband
- cut a 12 cm ( 5") stripe from the belt, and fold it to make a little bow, glue it slightly to the side of the headband, not into the middle
- cut a 3 cm ( 1 1/2") strip from the belt for the bow knot, glue it to the center of the bow
- make sure all the part glued tightly, and it's done!!
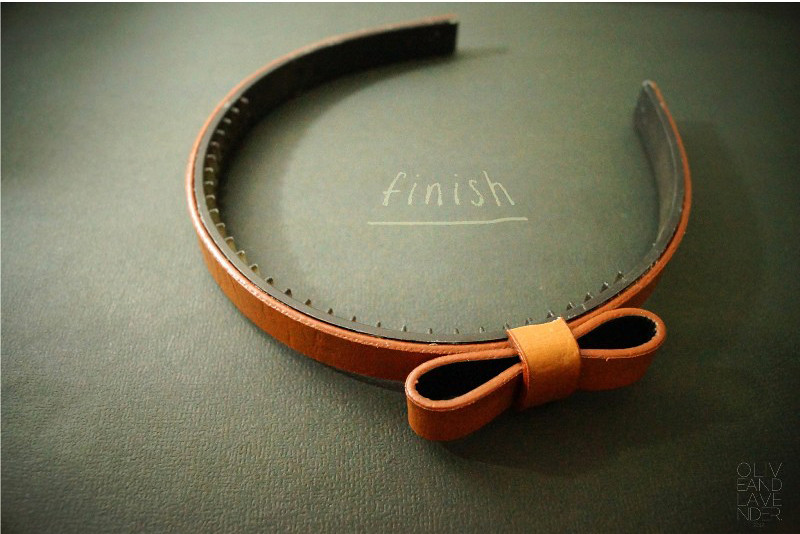
Enjoy your lovely weekend! ♥
5.15.2012
finally......the complete results
filed under |
handmade,
polymer clay,
works

So this is what I did in the past few weeks. The clay on frame. My best friend order them to me as a gift for her friend's graduation and birthday. Of course I accept the orders gladly . I hope it could be the good start for me to open my clay shop someday :)

for Mr. Fian Ardiyana, ST. Congratulations!
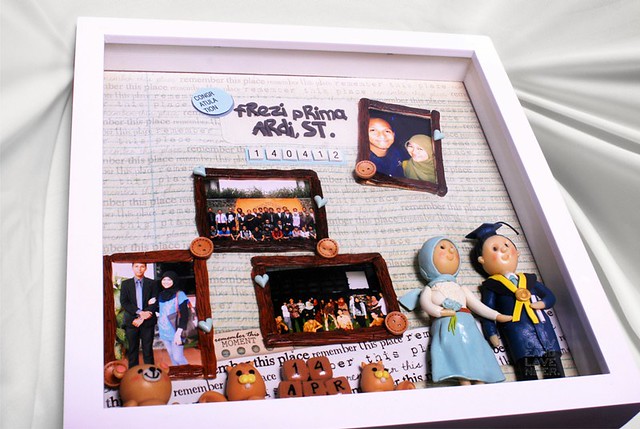
for Mr. Frezi Prima Ardi, ST. Congratulations !
for Miss Meiresty Evasari, S.Ked. Happy Birthday ! (sorry for photo's quality)
P.S. : if you want to order the clay on frame like above as a gift, just email me at bypratya[at]yahoo[dot]com :p
Have a wonderful week!!
xo.
4.10.2012
Work in progress...
filed under |
handmade,
polymer clay,
works
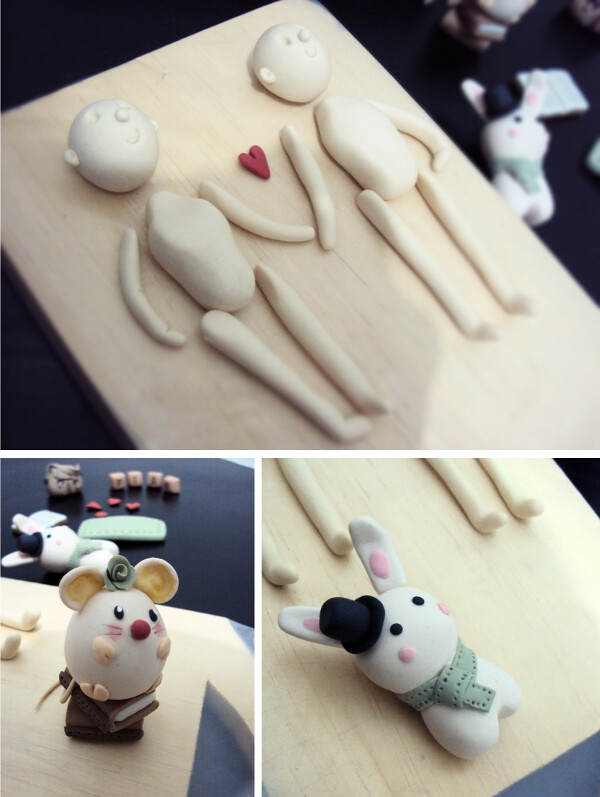 I worked at this clay figure the past few days and it has finished now. But I can't post the complete result because this is a gift from someone to somebody :) I think it will be surprise for April 14th. So I'll post the final result after that date. Oh, the picture at the bottom right is Mr. Lapin, I've created his illustration at the previous post. Isn't he cute? What do you think?? :)
2.05.2012
Weekend DIY : Vintage Tin Cans
filed under |
diy,
downloadable,
handmade,
printables,
upcycle,
weekend diy
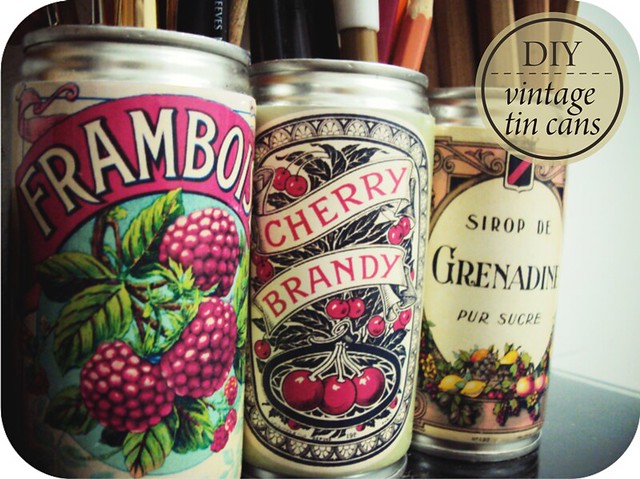 Hi! I've finished doing this nice and easy 'do it yourself' project to decorate my workspace. I'm doing this with recycling the unused ready-to-drink milk cans. You can try to make it too, it's so easy!
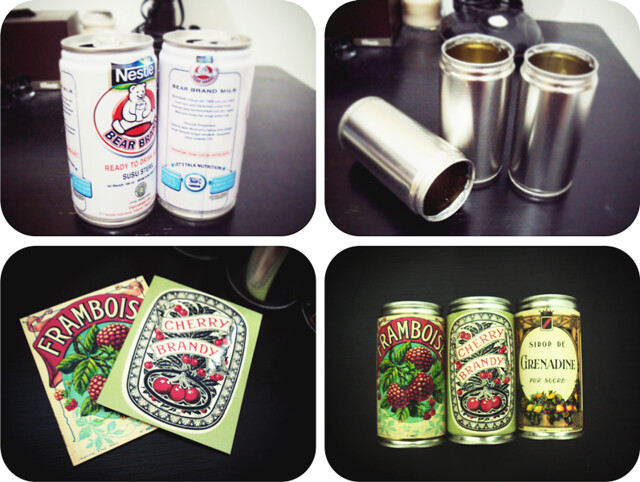 Here's what you'll need:
1. unused tin cans
2. sticker paper
3. printable vintage label (this Flickr set has got an amazing array of FREE vintage labels you can download and print)
Just clean up the can's label and discard the cover using can openers. Make sure you smooth the sharp edges so it won't wounded. Print the vintage label onto the sticker paper and stick it on the cans.
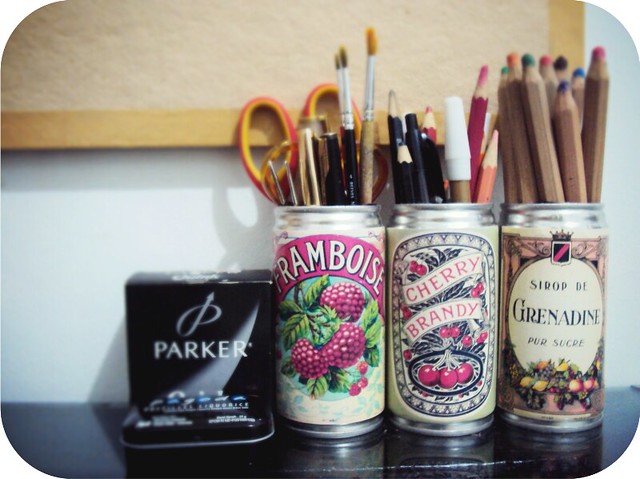 And that's it! This is so simple to do. You can make it to create some vintage atmosphere at your home :)
Have a wonderful weekend everyone!
xo
pratya
1.29.2012
Weekend DIY : Needle Felt Book
filed under |
fabric,
handmade,
ideas,
weekend diy
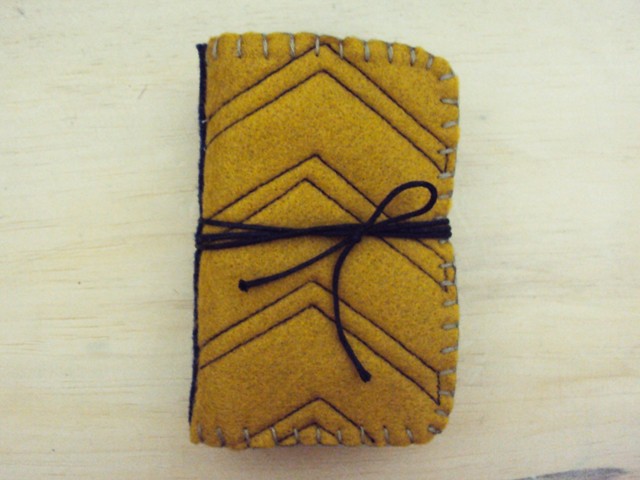
I just made this needle felt book for a weekend project. Hopefully the needles won't be scattered again and lost as what has-been :)
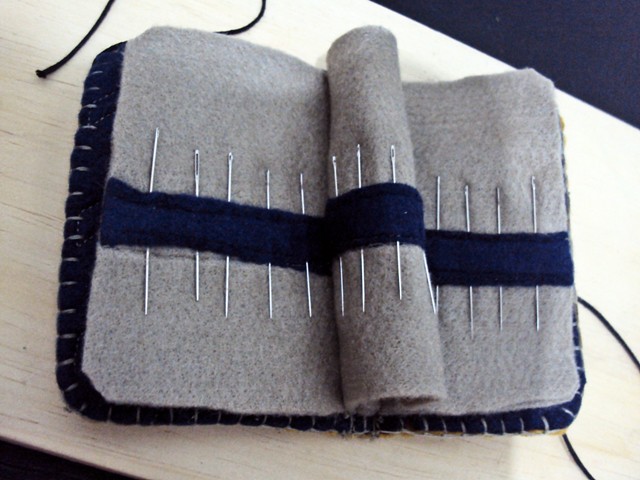
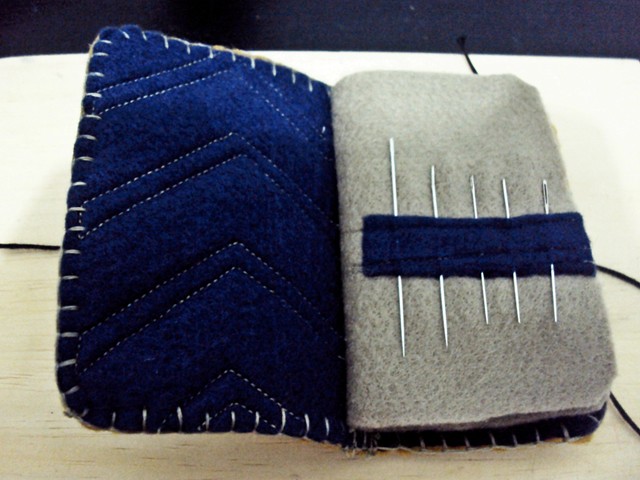

I like the felt color combination. Mustard yellow, navy blue and grey. Hope you like it too and this inspiring you.
Have a lovely weekend dear friends!
xo.
10.07.2011
Stache !
filed under |
diy,
hand carved,
handmade,
lovely things,
stamp
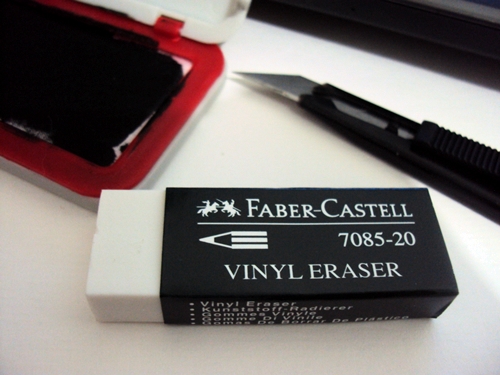
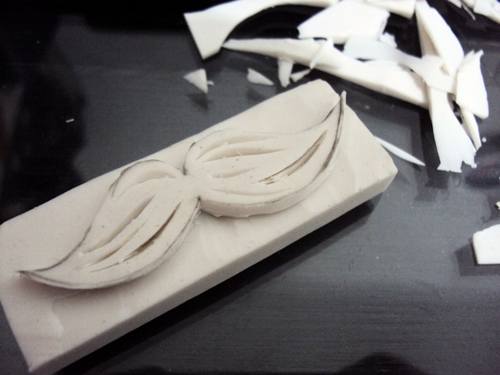
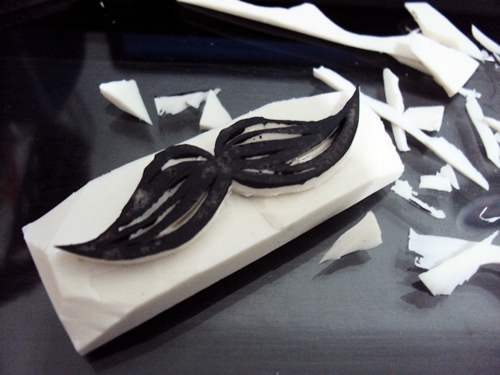
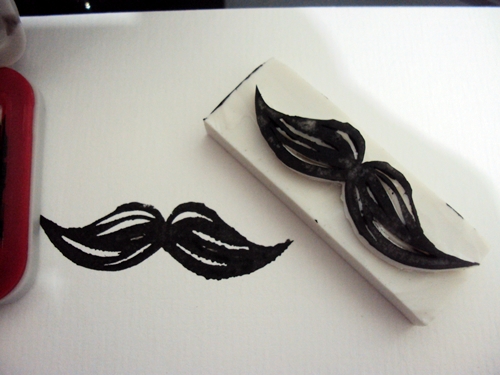
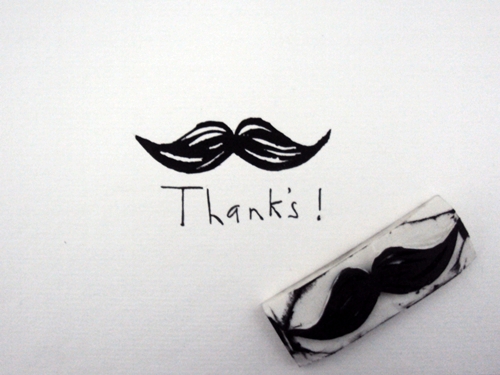
I'm interested to try making a hand carved stamps after seeing the tutorial on Geninne's blog. So I tried to make a stamp with a simple form of mustache..haha :) Well, unfortunately I didn't use the tools as used by Geninne in her tutorial, such like a carving block and linoleum cutter. I don't know where to buy those tools :( I just using a rubber eraser and usual cutter. And this is my hand carved stamp :))


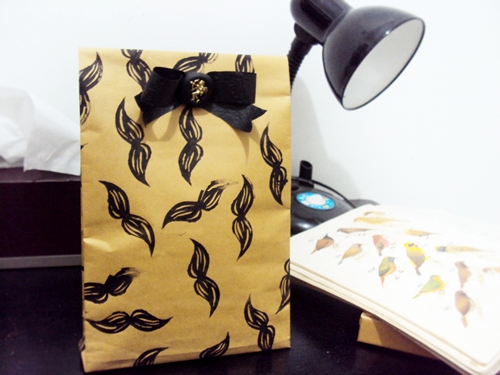
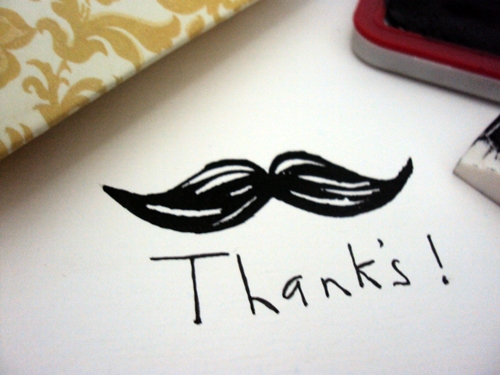
And I try to use it on several ideas like my B paper-gift-bag and 'thanks!' gift tag :)


 Here, look what I've found at stationary when I bought the rubber eraser. Disney Pooh Eraser Stamp..howcute :)) I know it's seems has displayed in stationary for a long time because its wrapper is quite dirty, but it's still cute so I bought it :)))


Next, i will give you a freebie about my stache stamp.
And I try to use it on several ideas like my B paper-gift-bag and 'thanks!' gift tag :)
 Here, look what I've found at stationary when I bought the rubber eraser. Disney Pooh Eraser Stamp..howcute :)) I know it's seems has displayed in stationary for a long time because its wrapper is quite dirty, but it's still cute so I bought it :)))
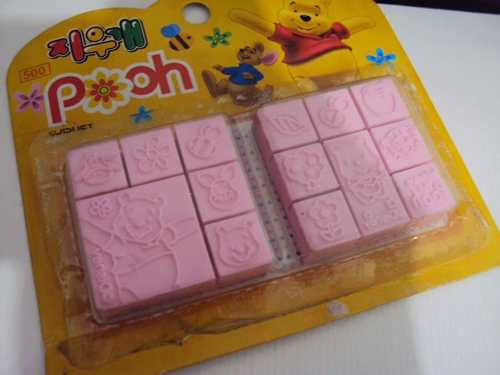


Next, i will give you a freebie about my stache stamp.
Have a happy Friday, Folks !
xo
xo
9.15.2011
Upcycled Badge Tutorial
 i made this fabric covered badge from the unused badge.
 and this is what you need to make this fabric covered badge like mine.
 unused badges, needle & thread, scissors, felt fabric, floral fabric, calico, adhesive glue and pins.
i use a thread embroidered calico to make another badge.


 covered badge using calico . cut out the floral fabric into circle . straight stitch all the way around the fabric circle . insert the badge into the sewn fabric . pull the thread to tighten . cut out the felt fabric into a circle . mark with pencil the pin that will be affixed . fold felt fabric into half circle . cut the marked section using scissors . applied the pin onto felt fabric . and glued it to the back side of badge . glued the embellishment such like ribbon, lace, stones, jewel or polymer clay rose . do the same step to make an embroidered calico covered badge .
i hope this inspire you.
and i hope the tutorial images is helpful
just click on the images to see them larger.
enjoy your work !
and i hope the tutorial images is helpful
just click on the images to see them larger.
enjoy your work !
P.S. : i love comments :))
7.24.2011
Ribbon Embroidery Project
filed under |
accessories,
fabric,
handmade
So, this is the result of ribbon embroidery that I've learned yesterday. I learned it from this site. There so much lovely ribbon embroidery designs you can download.
French knots, chain stitch, spider-web rose......oh my God.....it's not as easy as I thought :(( But I succeeded in make the embroidery like this. Without a pattern so it is quite messy..hehe
 I used organza ribbon 1/4" in size. And i think that size doesn't fit to make the Ribbon Stitch. Hmmm..I think I need larger size ribbon to make that stitch type. The French Knots is the most simple, but I made a mess with that..hahaha. My favorite is the Spider-Web Rose. It's easy to make and more realistic rose in result. And I tried to make that flower bouquet embroidery. Here's for the details. The image on the top-right was my favorite spider-web rose :)))
 I also make this brooch using french knots stitch. Still messy but looks pretty when i using colorful ribbon I guess :))
 Thanks for stopping by. Hope this can inspiring you ♥ ♥ ♥ ♥
6.08.2011
Treasure Trove Button
Another upcycled necklace on last month project..this button bib necklace made from gold vintage buttons, according to this tutorial with a little improvisation in detailing..hope this inspiring you :))
Au Revoir :))

When creating that necklace, I was inspired to make a gold theme for next project. Hmmm... I think the color combination of gold and pastel colors would be nice. Awww..really can wait to finish my college final project immediately !! It'll be finished about 2 months. Wish me luck :)))
Well, I think this is my last post for handmade projects for now. I will be able to make a handmade project again about 1-2 months.
So, please keep stopping by on my blog and wait for the next project :))))

Au Revoir :))
5.25.2011
Tutorial : Sewn Pom Pom Flower
So, here is the lovely tutorial for this pom pom flower.
Hmmm...hope you get inspired :))
Just click on the picture below for larger image and right click to save the tutorial.
These are the steps :
 And VOILAAAA !!!! This is the result :)))
 You can combine it with beads or pearls and apply it to any kind of your accessories. Such like headband, hair pin, brooch, belts, wrist band, shoe clips or necklace as mine :))
 [Cabecitas Lindas]
 [Baked Amore]
 [Antidote Arrow]
 [April421]

 [Fink Shop]
Hmmm...hope you get inspired :))
Just click on the picture below for larger image and right click to save the tutorial.
These are the steps :

 And VOILAAAA !!!! This is the result :)))
 You can combine it with beads or pearls and apply it to any kind of your accessories. Such like headband, hair pin, brooch, belts, wrist band, shoe clips or necklace as mine :))
 [Cabecitas Lindas]
 [Baked Amore]
 [Antidote Arrow]
 [April421]
 [Fink Shop]
Isn't they're really cute? :)))
That orange shoe clip from Fink Shop is my favorite :)
That orange shoe clip from Fink Shop is my favorite :)
♥ HAPPY CRAFTING EVERYONE ♥

Subscribe to:
Posts (Atom)